How to Specify a Side Bottle Pocket for a Custom Backpack
Brief a custom backpack pocket around the bottle people will carry, then check the fit and access on a loaded sample.
Updated September 21, 2026 | 3 min read | Published by Oksaur Outdoor
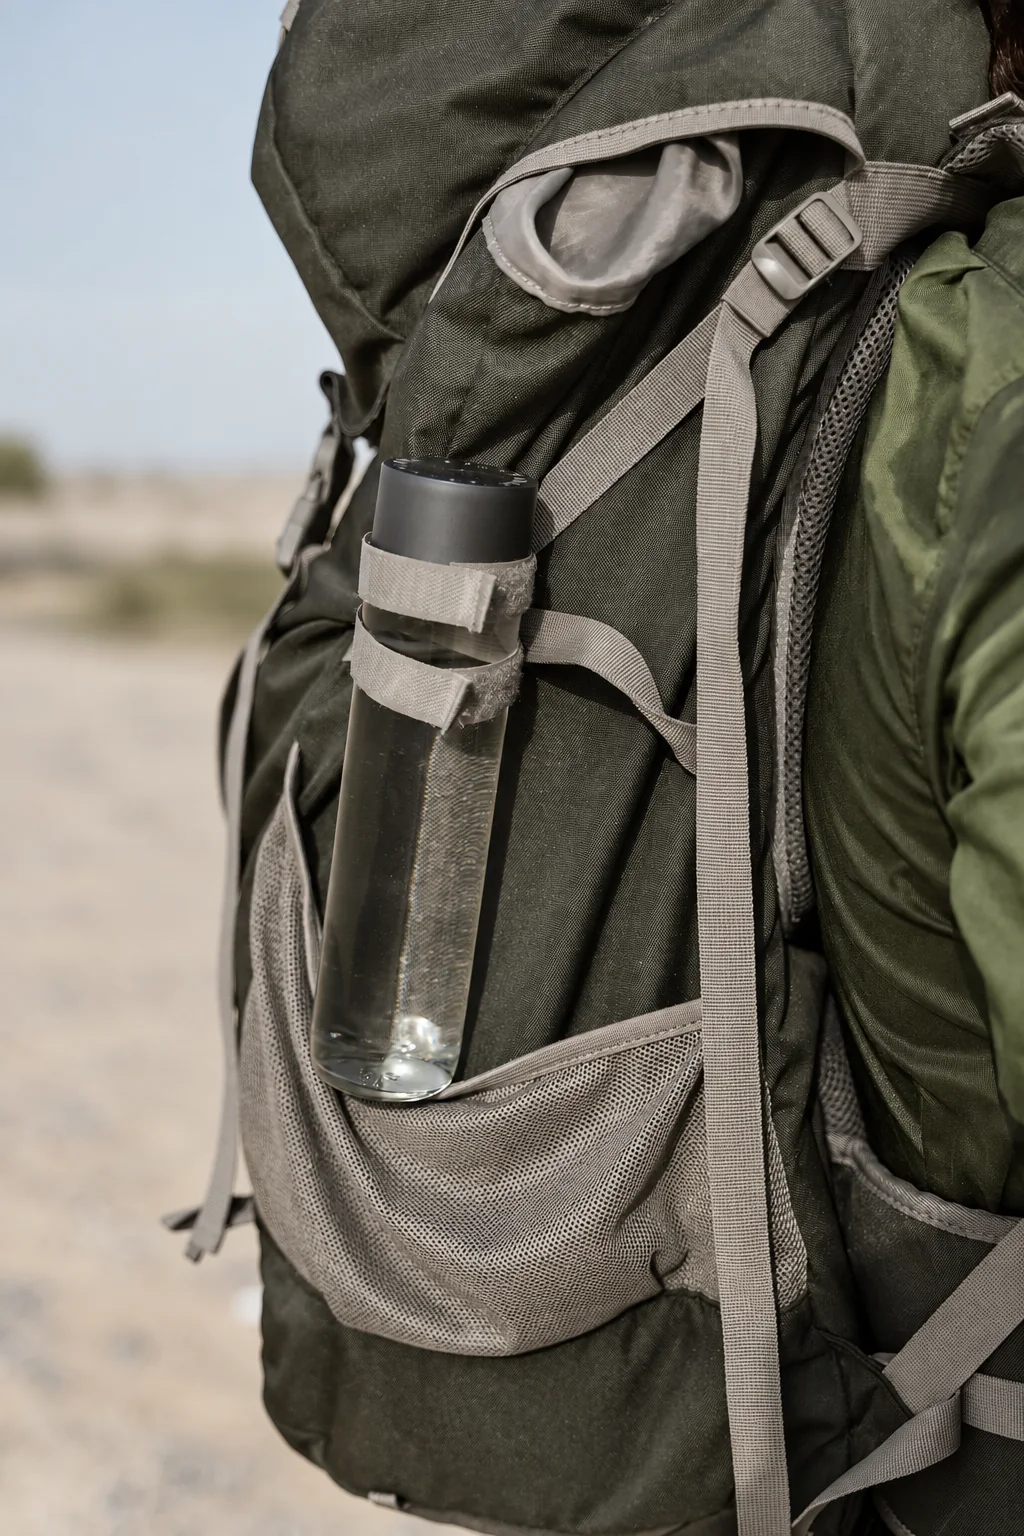
Measure the bottle first
Start with the bottle the buyer expects to carry. Measure from base to lid and across its widest point, including a handle if it has one. "Standard bottle" is too vague for a pocket made for a specific program. If people may carry different bottle shapes, include the largest and have the sample checked with it.
Choose the pocket opening
Decide whether the top should stay open, have an elastic edge, or use a zipper. Mark the pocket depth and opening on a product photo or sketch. If the bottle should sit lower in the pocket, note how much of it should remain visible. Ask the supplier to show that detail on the sample.
Use MG8011 as a reference
The MG8011 is listed with two side pockets for bottles or small essentials. Its product entry gives no pocket dimensions or bottle size range. Use it to show the general location and count you mean, then confirm fit with your bottle on the sample. Note whether your custom backpack needs one side pocket or a pair.
Test it with the backpack packed
Put the intended bottle in the sample and pack the main compartment with its normal load. Adjust the straps and put the backpack on. Can you reach the bottle without shifting the pack? Does it go back in without snagging or pressing against the packed items? An empty-bag photo will not answer those questions.
Write down what you approved
Keep the decision in one place: bottle measurements, pocket count and side, depth, opening, and how the top should hold the bottle. Photograph the loaded sample. If a detail changes, write it down before approval so the sample and production brief agree.
Discuss a custom backpack pocket
Send the model number, quantity, artwork, destination, and required date. We will reply with the remaining questions needed for pricing and sampling.